Article: Classic, Volume or Hybrid? Match Technique to Eye Shape
Classic, Volume or Hybrid? Match Technique to Eye Shape
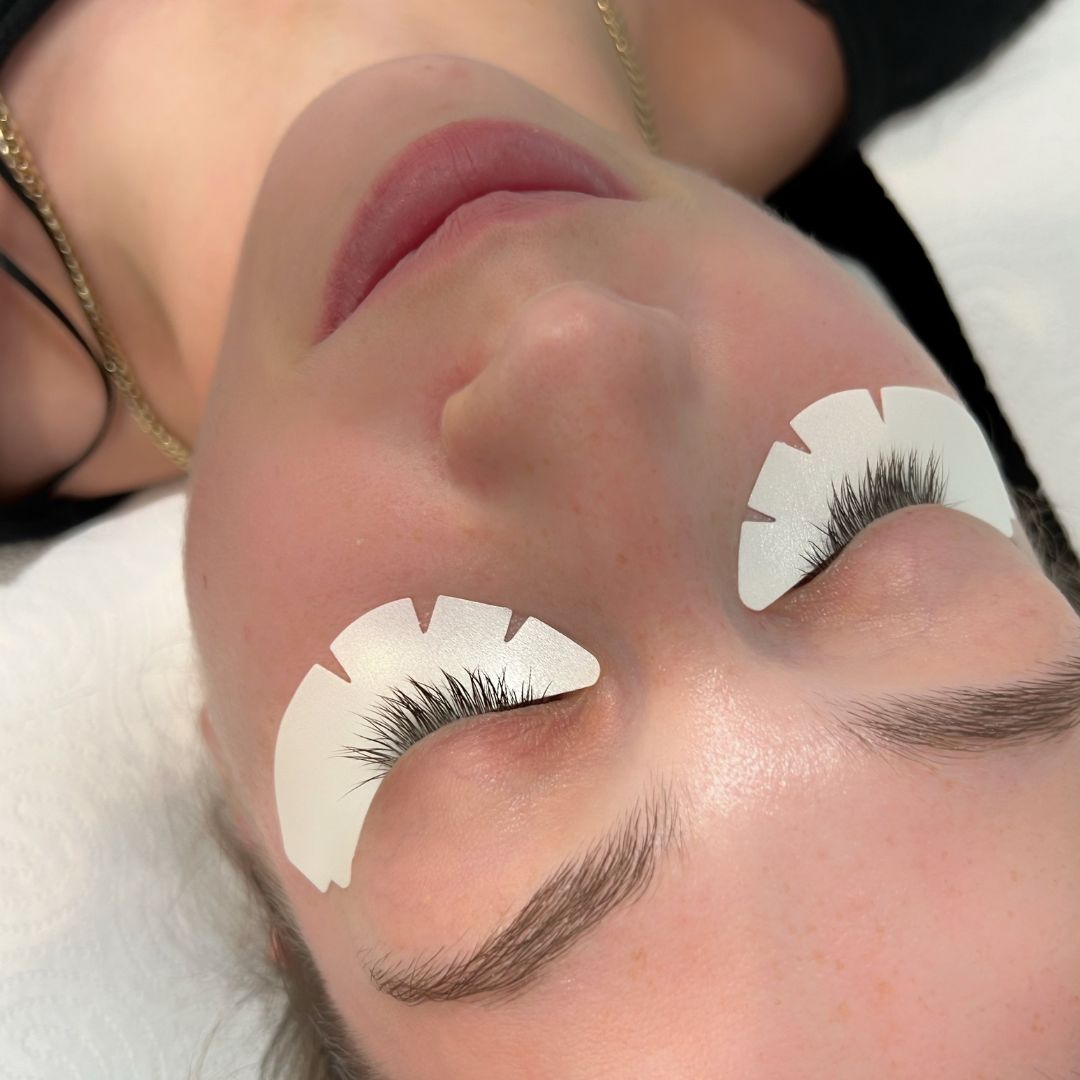
Classic lashes place one extension on each natural lash for subtle definition. Volume lashes use multiple fine extensions fanned together to create fullness. Hybrid combines both techniques strategically on the same eye. The difference between good lash work and great lash work isn't just application skill. It's knowing which technique suits which eye shape before you even pick up your tweezers.
You'll learn exactly which technique flatters which eye shape and how to make that decision in under a minute. No guesswork. No trial and error on paying clients.
Why the wrong lash technique makes even perfect application look off

You've seen it happen. A student applies lashes with perfect isolation, clean adhesive, flawless retention. The client leaves looking unbalanced. Or unnatural. Or just wrong.
The application wasn't the problem. The technique choice was.
Technique affects how eyes appear regardless of your technical skill. Volume lashes on already prominent eyes can make them look bulging. Classic lashes on deep-set eyes disappear completely. The client paid for enhancement, not distortion.
This isn't about listing every possible mismatch. It's about understanding that eye shape dictates technique, not the other way around. Get this decision right, and your technical skills actually show. Get it wrong, and even perfect work looks amateur.
Classic lashes: Which eye shapes get the most flattering results

Classic lashes mean one extension per natural lash. You're creating definition without bulk. The natural lash line gets enhanced, not transformed.
Classic works best for eyes that already have good proportions. Eyes that just need definition, not correction. If you're trying to fix something about the eye shape, classic probably isn't your answer.
Two eye shapes respond brilliantly to classic. One doesn't. Here's how to tell the difference.
Almond and upturned eyes: Why classic works
Almond eyes have a slightly elongated shape with a gentle taper at both corners. Upturned eyes have outer corners that sit higher than inner corners, creating a naturally lifted look. Both shapes have balanced proportions already.
These eyes don't need correction. They need enhancement. Classic lashes add definition without altering what's already working. Less is genuinely more here.
Place your longest lashes at the outer third of the eye, tapering gradually toward the inner corner. This maintains the natural lift without exaggerating it. Don't overthink this. The eye shape is doing most of the work for you.
Hooded eyes: The spacing mistake that makes them look heavier
Hooded eyes have excess skin that droops over the crease, partially or fully covering the eyelid. Classic lashes often get lost in that hood. The client paid for visible lashes. They can't see them.
The common mistake: applying classic with standard spacing that creates a flat, dense line. This makes the hood look heavier, not the lashes more visible.
If you're committed to classic on hooded eyes, increase length significantly and create strategic gaps to prevent that heavy line. But honestly? Volume or hybrid usually works better. The added dimension brings lashes forward past the hood where they're actually visible. For more guidance on technique decisions, check out our Articles section.
Volume lashes: The eye shapes that need extra dimension
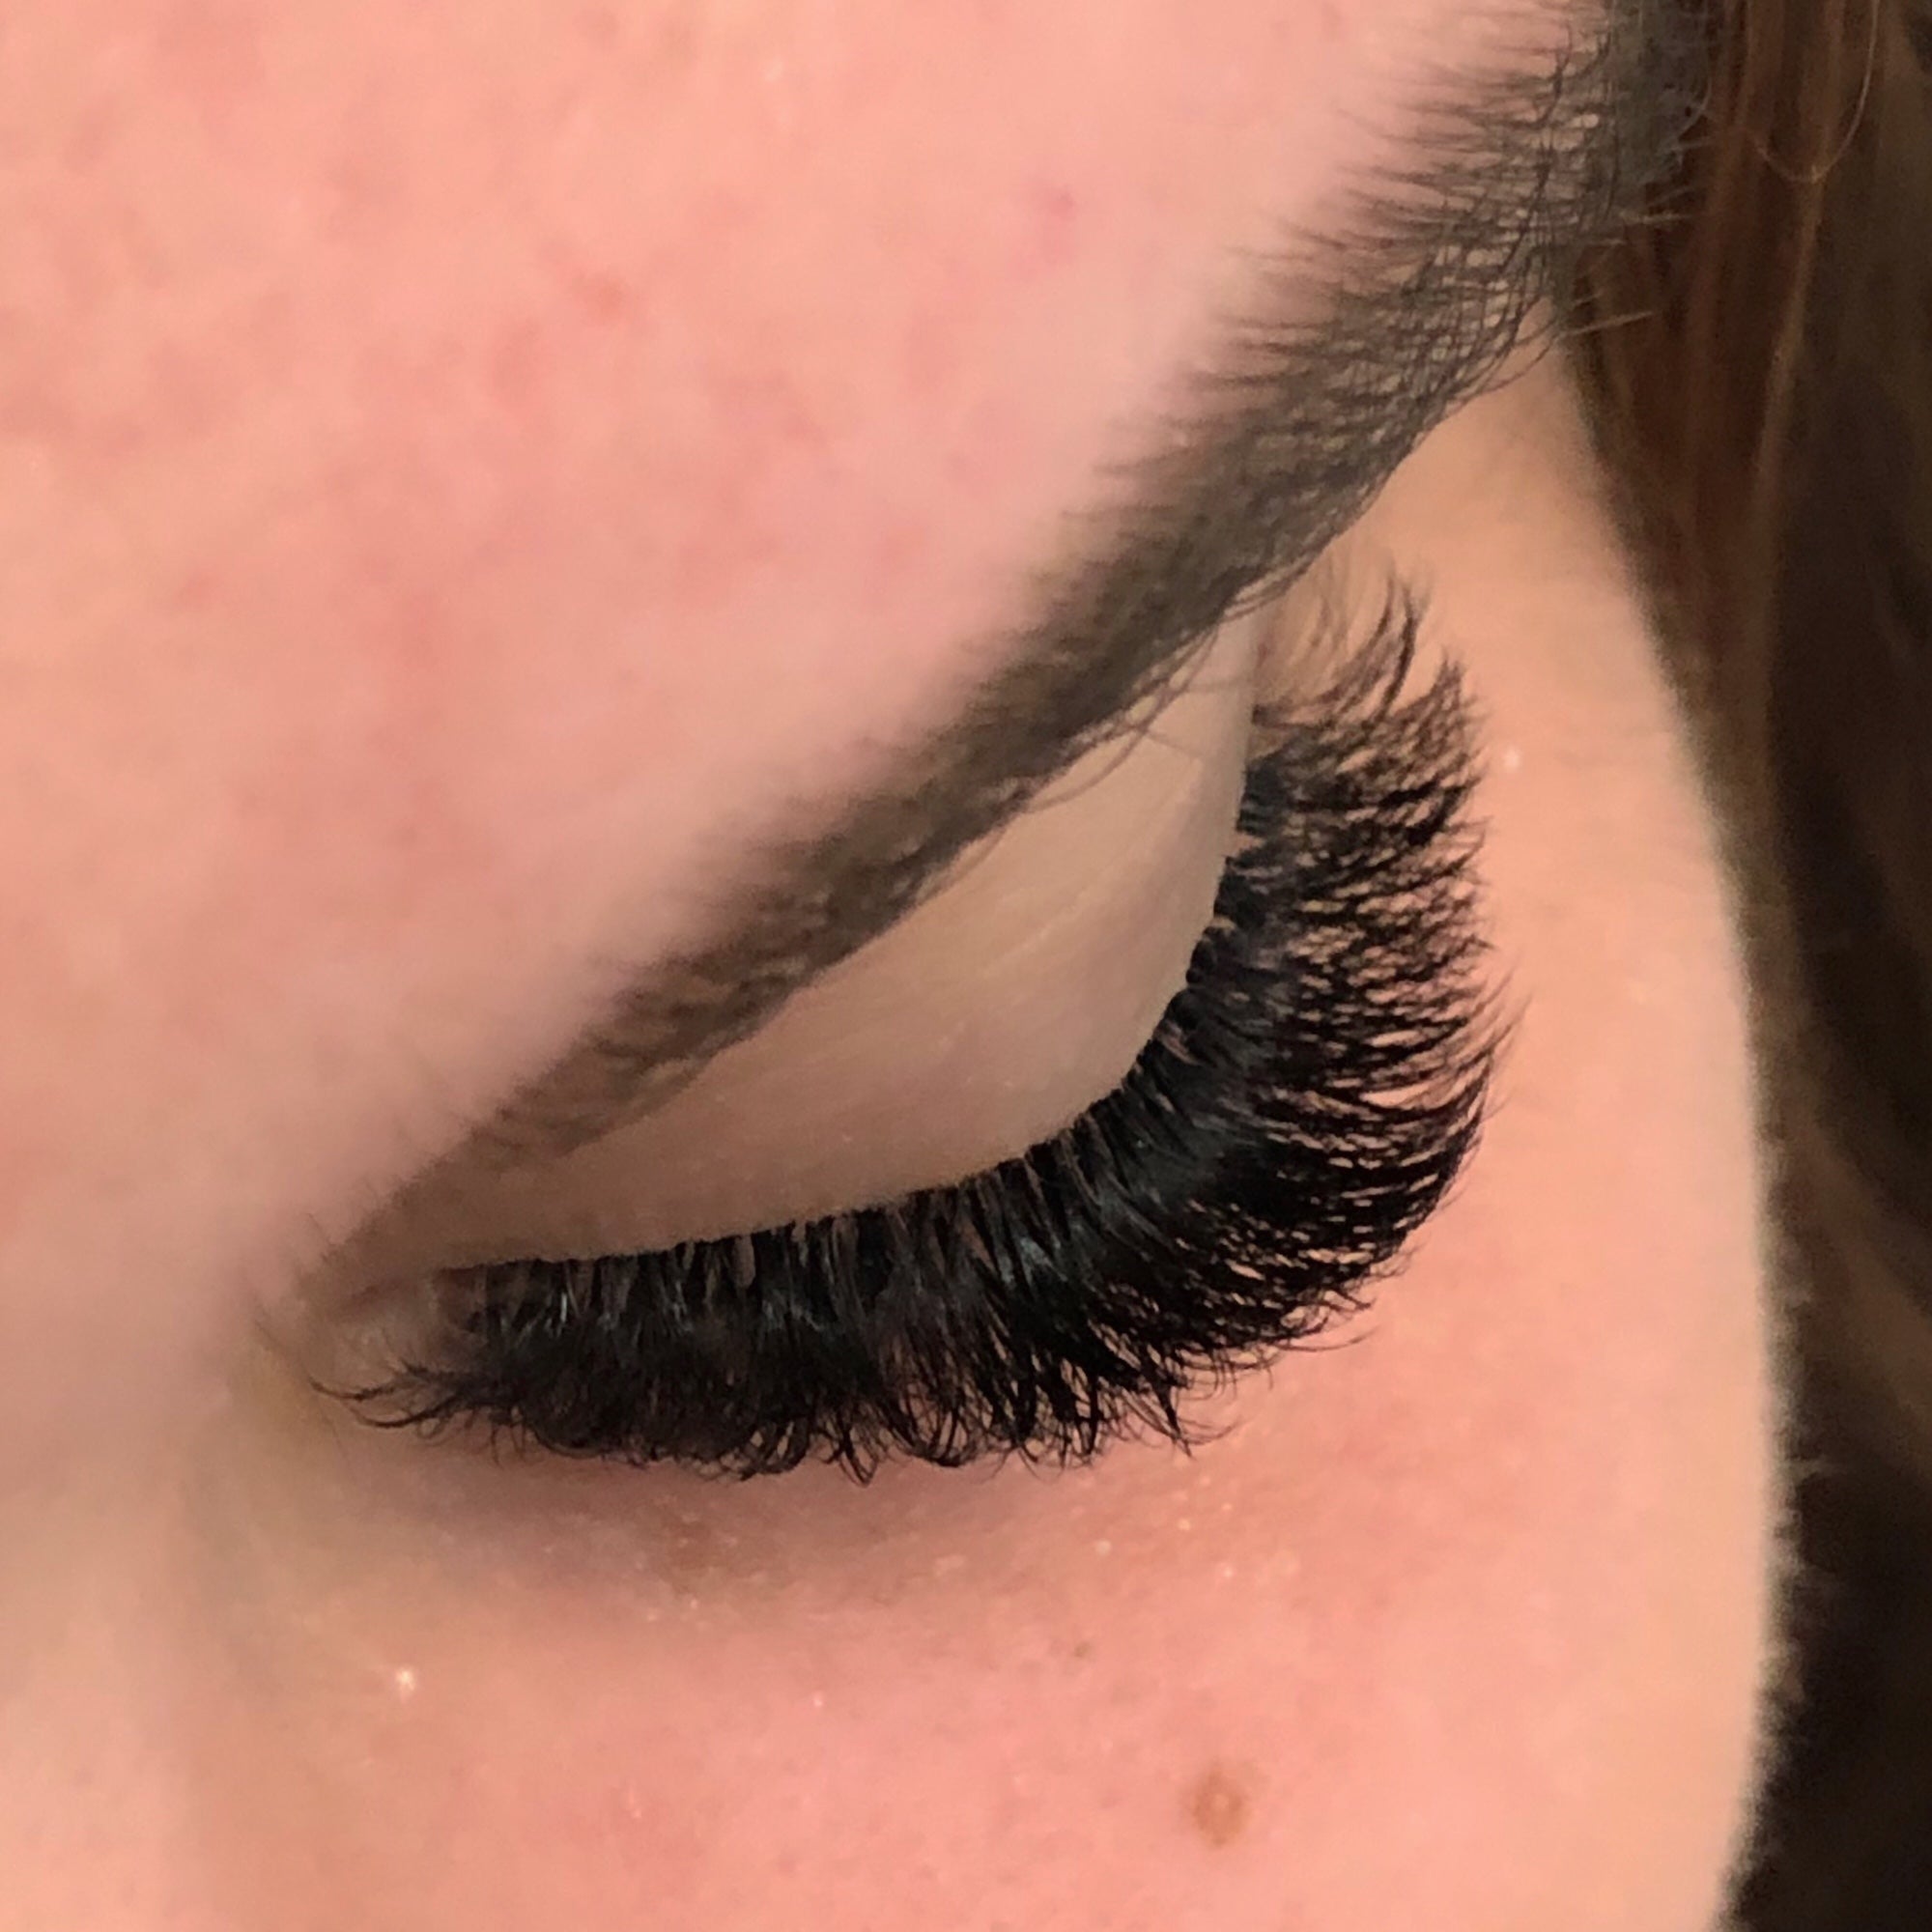
Volume lashes use multiple fine extensions in a fan. You're creating fullness and dimension that single lashes can't achieve. This isn't about drama. It's about depth.
Eyes need volume when they require visual correction. To add depth. To create lift. To balance proportions that classic lashes would emphasise rather than fix.
Two eye shapes benefit most from volume application. Both need strategic placement, not just more lashes everywhere.
Round and protruding eyes: How fans create balance
Round eyes appear circular rather than almond-shaped. Protruding eyes sit forward from the face, sometimes appearing to bulge slightly. Both shapes can look overly prominent.
The solution feels counterintuitive. You're adding volume to eyes that already look large. But strategic placement creates balance, not more protrusion.
Concentrate fuller fans at the outer corners. Use lighter, sparser fans at the centre. This creates horizontal stretch, elongating the eye shape. The eye appears less round, more balanced.
Yes, you're adding volume. But you're adding it where it creates length, not width. That's the difference between making the problem worse and actually solving it.
Downturned eyes: Placement patterns that lift without looking fake
Downturned eyes have outer corners that sit lower than inner corners. The eye appears to droop at the edges. Classic lashes follow that downward line, emphasising the droop.
Volume fans at the outer corners create lift that single extensions can't achieve. The fullness and angle work together to visually raise the outer corner.
Use longer, fuller fans from the mid-eye outward. Angle them upward, not straight out. This creates lift while maintaining a natural lash line.
The mistake: overdoing outer corner length until it looks obviously fake. Lift should look like better genetics, not obvious intervention. Stop before it looks like wings.
Hybrid lashes: When to mix techniques for tricky eye shapes

Hybrid isn't a medium option between classic and volume. It's a strategic solution for eyes with multiple challenges or asymmetry that need different approaches in different areas.
You're not hedging your bets. You're solving specific problems with specific techniques on the same eye. This is deliberate, not indecisive.
Two scenarios make hybrid the obvious choice. Both involve eyes that need different solutions in different zones.
Close-set eyes: Using classic at inner corners, volume at outer
Close-set eyes have less than one eye-width of space between them. The eyes appear too close together. Volume across the entire lash line emphasises the centre, making them look even closer.
The strategy: classic at inner corners keeps that area light and undefined. Volume at outer corners creates width, pulling visual attention outward.
Switch from classic to volume around the pupil. This transition point creates balance without an obvious line where techniques change.
Don't use volume all the way across. You'll emphasise exactly what you're trying to minimise. Keep the inner third light.
Asymmetrical eyes: Balancing different techniques on each eye
Most clients have some asymmetry between eyes. One might be slightly hooded while the other isn't. One might sit lower. One might be more prominent.
When asymmetry is significant, use different techniques on each eye. Match technique to each eye's individual shape, not to each other.
This sounds wrong. It isn't. You're creating visual balance, not technical matching. If one eye needs volume to bring it forward and the other needs classic to avoid protrusion, that's what you do.
This is advanced. But understanding it early prevents months of wondering why matching techniques on asymmetrical eyes never looks quite right.
The before-application checklist: Matching technique to what you see
Run through these questions before you choose your technique. This takes thirty seconds, not thirty minutes.
What's the eye shape? Almond, round, hooded, downturned, upturned, close-set? Identify the dominant characteristic first.
How prominent are the eyes naturally? Do they sit forward or recede? This determines whether you can add bulk or need to stay minimal.
What's the natural lash density? Sparse lashes can't support heavy volume. Count a small section before committing to technique.
Is there obvious asymmetry? If one eye differs significantly from the other, you might need different techniques on each side.
Does the client want enhancement or transformation? This matters less than eye shape, but it's worth asking. Some shapes can't support what the client wants.
That's it. Five quick assessments. No complicated analysis required.
Three common mismatches TAFE students make (and how to spot them before you start)
You'll see these mistakes in your cohort. Probably make some yourself. That's normal. Learning means recognising patterns before they become habits.
These three mismatches are the most common. They're also the easiest to avoid once you know what causes them.
Applying volume to already prominent eyes
The result: eyes look bulging or overly dramatic when they were already prominent. The client looks startled, not enhanced.
Students make this mistake because they assume more lashes always looks better. It doesn't. Prominent eyes need definition, not additional bulk.
The spot-check: if eyes are already large and forward-set, default to classic. Volume can work if you concentrate it at outer corners only, creating length rather than fullness. But full volume across prominent eyes rarely works.
Using classic on deep-set eyes that need dimension
Classic lashes on deep-set eyes disappear. The client paid for visible enhancement. They got invisible lashes that sit too far back to create any impact.
Students choose classic thinking natural-looking means minimal. But deep-set eyes need dimension to bring them forward visually. Natural-looking on deep-set eyes requires volume.
The test: if you can't see the lashes clearly when the client's eyes are open, you need more dimension. Switch to volume. The added depth brings lashes forward past the recessed eye socket. If you're exploring different lash styles, understanding The Wet Look What Is It can help you see how technique affects final appearance.
Ignoring natural lash density when choosing technique
Natural lash count determines which technique is physically possible. Sparse lashes can't support heavy volume fans. The extensions won't adhere properly, and retention suffers.
The mistake: choosing technique based only on eye shape without checking what the natural lashes can actually hold.
The rule: count natural lashes in a small section first. If density is low, volume might not be viable regardless of eye shape. You might need to use classic or very light volume fans instead. Check the foundation before you plan the structure.
Your technique decision takes 30 seconds once you know what to look for
Technique selection becomes automatic with practice. You won't analyse for minutes. You'll look at the eye and know.
The process: identify eye shape, check natural lash density, match to technique. That's it. Three steps that become one glance.
Getting this right is what makes your work look professional from day one. Not perfect isolation. Not flawless fans. Those matter, but they matter more when you've chosen the right technique first. For additional insights on common lash myths, read Dont Get Them Wet The Trainer Said Fact Or Fiction.
Practice identifying eye shapes on your classmates before your next practical session. Look at eyes everywhere. Train yourself to see shape before anything else. That's how technique selection becomes instinct rather than guesswork.

Leave a comment
This site is protected by hCaptcha and the hCaptcha Privacy Policy and Terms of Service apply.