The Ultimate Professional Lash Kit: What Every Lash Artist Actually Needs
You're halfway through a full set when your tweezers slip. Again. The natural lash you were isolating sticks to three others, and now you're spending five minutes fixing what should have taken thirty seconds. Your client shifts uncomfortably. You apologise, blame the humidity, and finish the appointment knowing she probably won't rebook.
This isn't about perfectionism. It's about the direct line between what's in your kit and whether clients come back. Poor tools don't just slow you down. They create visible problems: inconsistent retention, discomfort during application, and results that look amateur even when your technique is solid.
This article separates genuine professional essentials from expensive marketing and budget traps. Not everything needs to be premium, but certain items directly affect client safety and your reputation. Knowing which is which saves you money and protects your business.
Why Your Kit Quality Directly Affects Your Insurance and Reputation
Insurance assessors don't care about your intentions. If a client has a reaction and you're using non-professional grade adhesive or contaminated tools, your claim can be denied outright. The policy fine print usually specifies "appropriate professional equipment" without defining what that means. When something goes wrong, that vagueness works against you.
Poor-quality tools create visible outcomes that clients notice even when they can't articulate why. Cheap adhesive might hold for three days instead of three weeks. Rough tweezers can damage natural lashes, leading to sparse regrowth that clients blame on extensions generally. Non-hypoallergenic eye pads cause redness that lasts hours after the appointment. None of these are dramatic disasters, but they're enough to stop rebookings.
Here's a specific example: a client develops mild irritation from a budget adhesive that contains higher formalin levels than professional-grade options. She doesn't come back, tells two friends, and leaves a review mentioning "sensitivity issues." You've now lost three potential clients and damaged your local reputation over a product that cost $8 less than the professional alternative.
This isn't fear-based reasoning. It's operational reality. Clients don't need to understand lash chemistry to recognise when results don't match what they've seen elsewhere. They just book someone else next time. For more insights on maintaining professional standards, check out our Articles section.
The Non-Negotiables: Tools That Must Be Professional-Grade

Three categories create genuine risk when you cut corners: precision tools that directly affect application quality, products that touch client skin, and anything prone to contamination between appointments. These aren't optional upgrades. They're the foundation of safe, effective lash application.
Investing in professional-grade versions of these items protects both your client and your business viability. The cost difference is usually modest when calculated per client, but the impact on outcomes is substantial.
Tweezers: The One Thing You Can't Compromise On
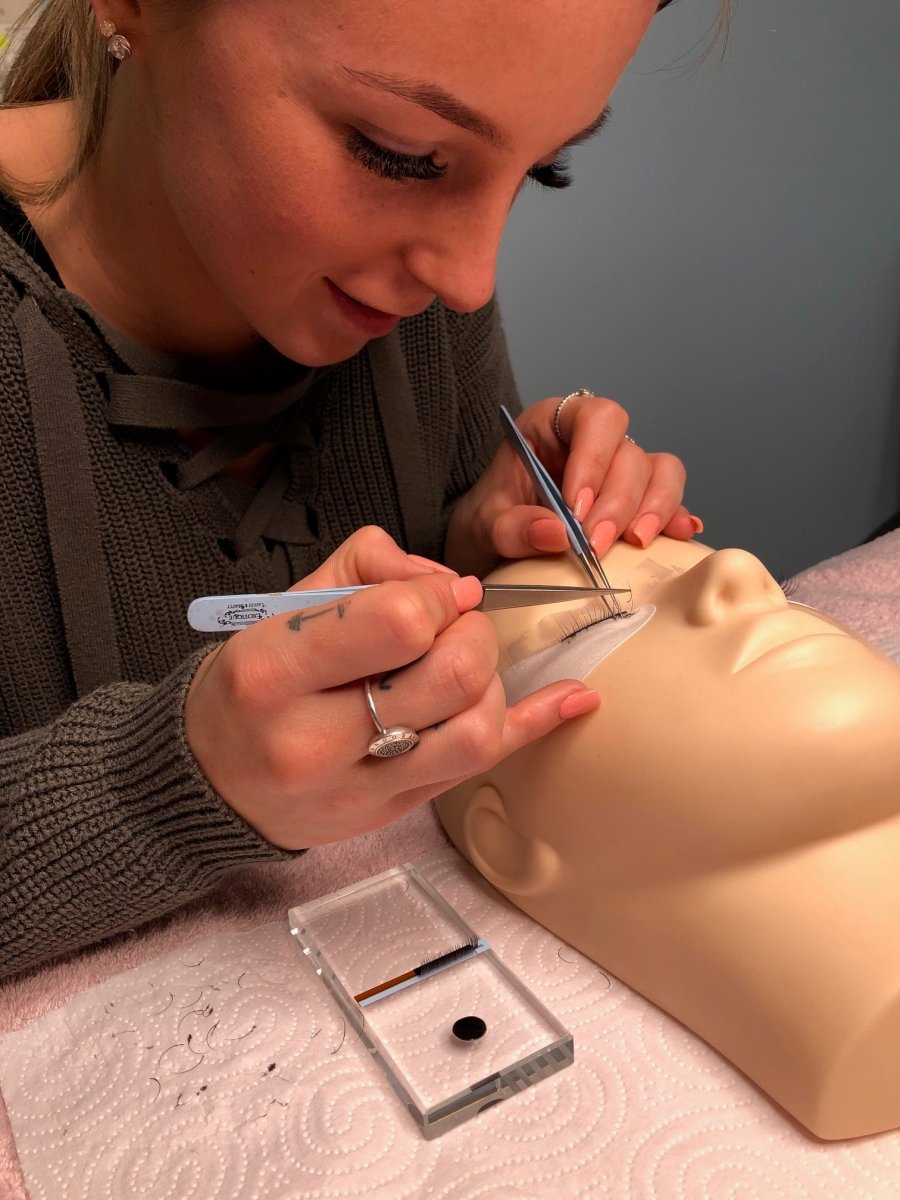
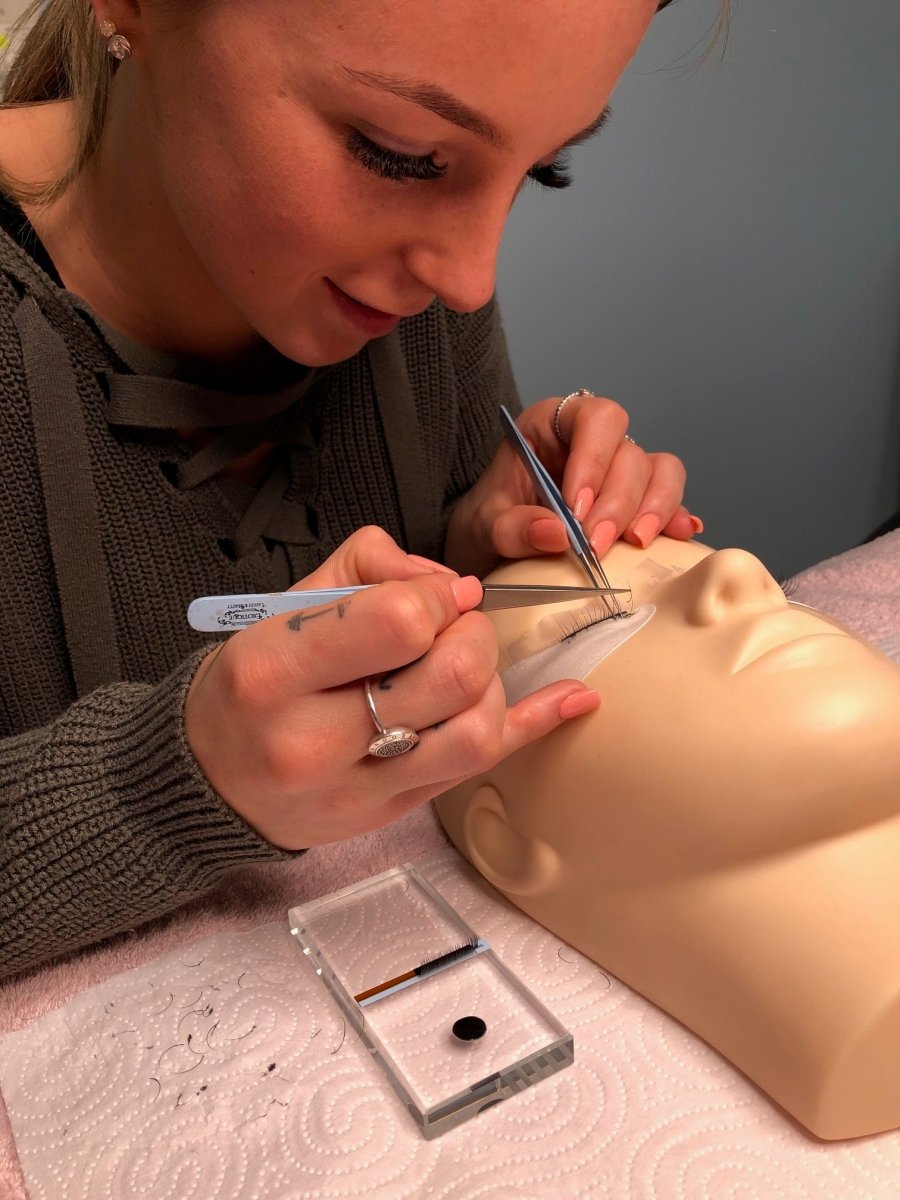
Precision tweezers with proper alignment and correct tension directly determine your application speed and isolation accuracy. Misaligned tips mean you're fighting your tools throughout every appointment, which adds 20-30 minutes to a full set and increases hand fatigue significantly.
Professional-grade tweezers in 2026 typically range from $35-$80 per pair. What justifies this cost: perfectly aligned tips that meet without gaps, consistent tension that doesn't require excessive grip strength, and materials that maintain their shape through repeated sterilisation.
Cheap tweezers create cascading problems. Your hand cramps after two appointments. Poor isolation leads to stickies that clients feel immediately. You accidentally pinch natural lashes, causing damage that affects retention. By the end of a busy week, you're slower and less precise than you were on Monday.
Keep 2-3 pairs in rotation. This ensures you're never working with misaligned tips because one pair is being sterilised or has degraded slightly. Rotate them weekly and you'll notice alignment issues before they affect your work.
Adhesive Storage and Application Tools That Prevent Contamination
Proper adhesive storage matters more than most artists realise. Leaving bottles exposed to air degrades performance within hours. Using the same glue ring across multiple clients creates cross-contamination risks that no amount of cleaning eliminates.
Invest in sealed storage containers that maintain consistent temperature. In Australian climates, adhesive performance drops noticeably when exposed to humidity fluctuations. A proper storage system costs $15-$25 and extends adhesive life by weeks.
Use disposable glue rings for every client. Reusable palettes seem economical until you consider the contamination risk. A box of 100 disposable rings costs around $12 and eliminates any chance of transferring bacteria or degraded adhesive between appointments. The math is simple: $0.12 per client for guaranteed hygiene.
Temperature control isn't complicated. Store adhesive in a cool, dry space away from direct sunlight. If your room temperature regularly exceeds 24°C, consider a small storage fridge. The investment is under $100 and prevents the performance inconsistency that comes from heat-affected adhesive.
Eye Pads and Tape That Won't Cause Reactions
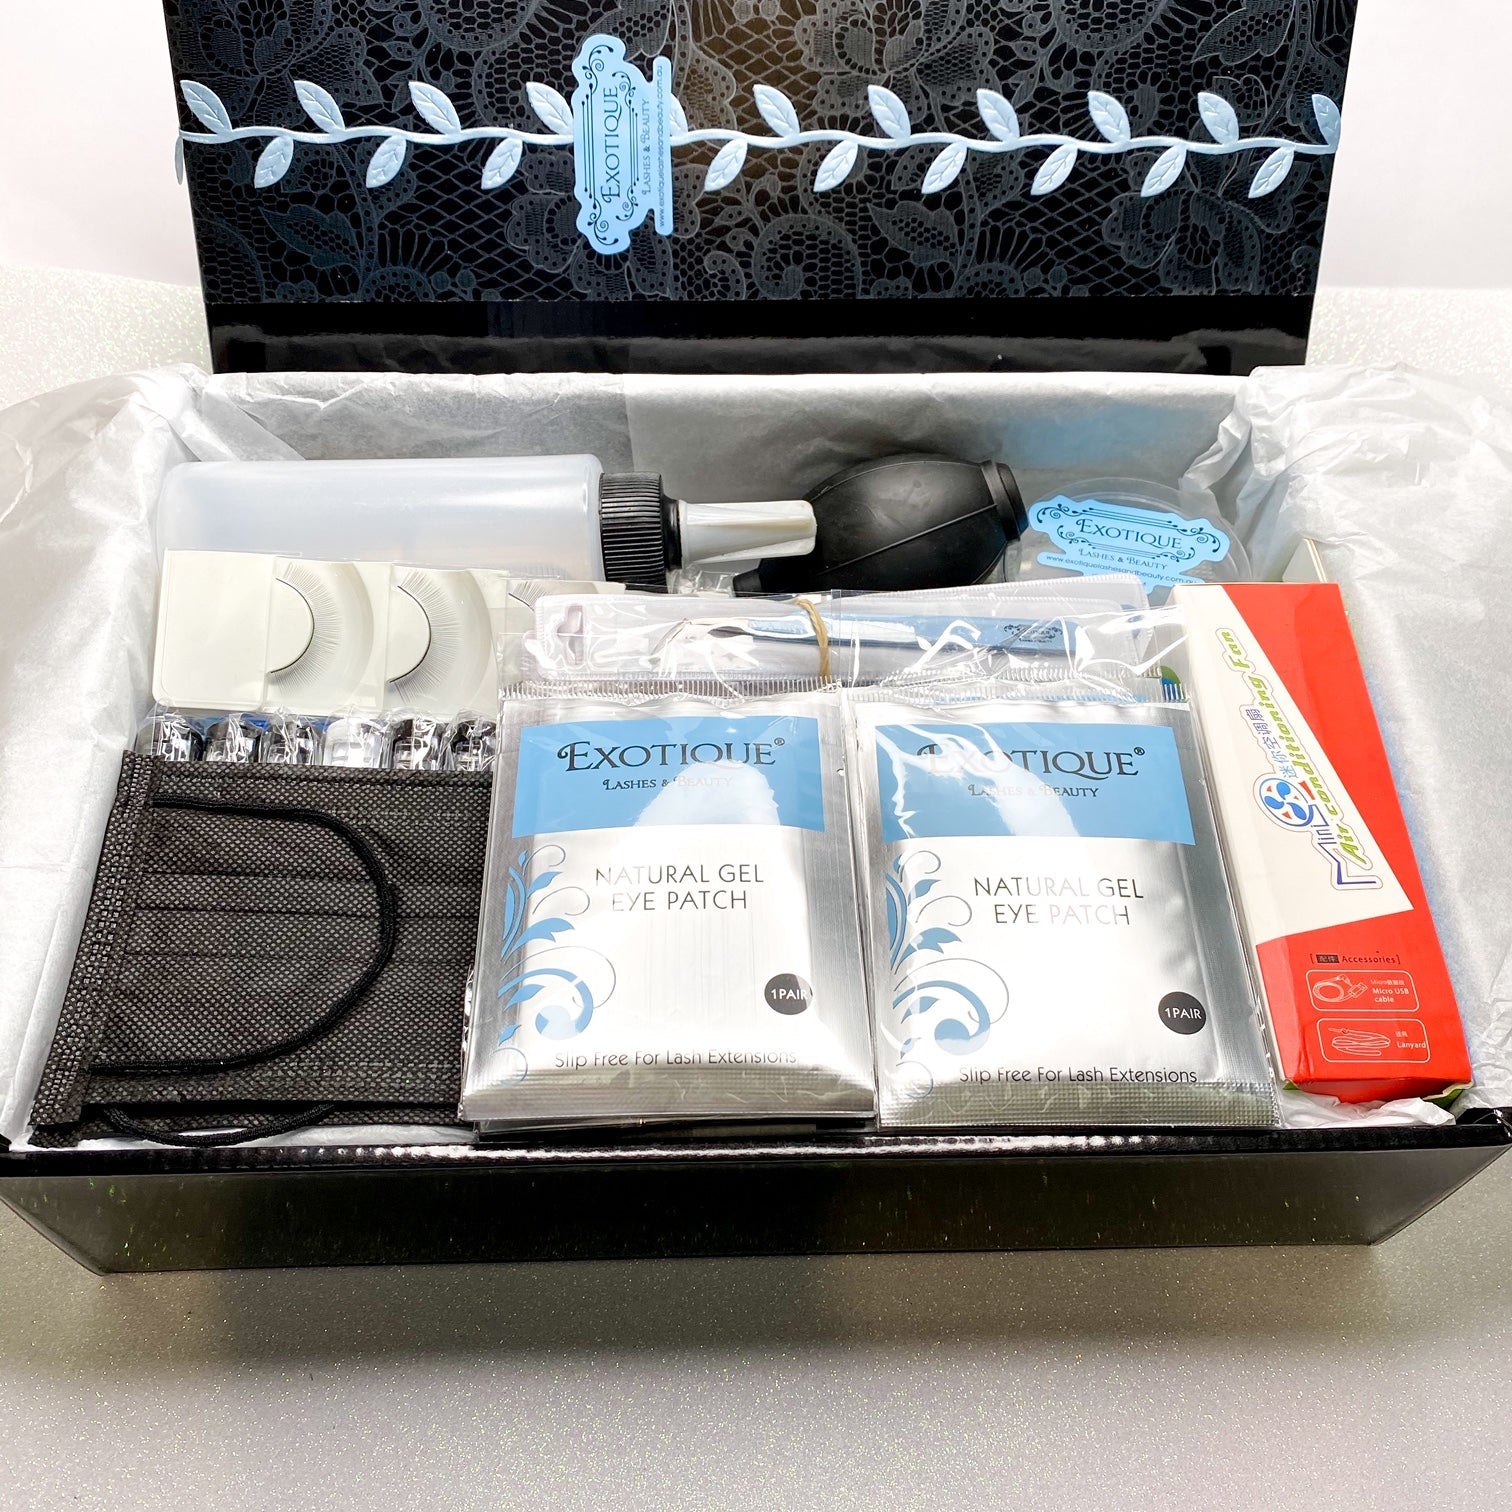
Medical-grade or hypoallergenic eye pads and tape prevent the most common client complaints: redness, irritation, and discomfort during application. Cheap alternatives often contain adhesives that react with sensitive skin, creating visible redness that lasts hours after the appointment.
Common reactions from budget options include immediate stinging when applied, red marks that outline exactly where the pad sat, and clients who can't keep their eyes comfortably closed throughout the service. These aren't rare occurrences. They happen frequently enough that you'll encounter them within your first month if you're using substandard products.
Test products on yourself first. Apply an eye pad to your inner wrist for 90 minutes. If you see redness or feel irritation, your clients will too. Keep alternatives on hand for sensitive clients. Gel patches work well for those who react to standard pads, and they only cost $1-2 more per client.
Professional-grade eye pads aren't expensive. A pack of 50 pairs typically costs $18-$30, making them around $0.40 per client. This is standard professional practice, not premium service. Don't create problems by saving $0.20 per appointment.
Where You Can Actually Save Money Without Sacrificing Results

Not everything needs to be premium. Some items genuinely don't affect client outcomes or safety, and spending extra on them is just inefficient budgeting. The distinction is straightforward: items that touch clients or directly affect application quality require professional-grade investment. Organisational and background items don't.
This is smart budgeting, not cutting corners. Knowing where quality matters and where it doesn't lets you allocate your budget effectively.
Disposables You'll Replace Weekly Anyway
Micro brushes, lint-free applicators, and disposable mascara wands are single-use items you'll replace constantly. Since durability isn't a factor, mid-range options work perfectly fine. You're not compromising hygiene or effectiveness by avoiding premium brands here.
Buy in bulk to reduce per-unit cost. A pack of 100 micro brushes costs around $8 when purchased individually, but drops to $25 for 500 when bought in bulk. You're using the same product, just paying less per unit. The same principle applies to mascara wands and applicators.
Mid-range is the sweet spot. The absolute cheapest options sometimes shed fibres or break during use, which creates more problems than the savings justify. But you don't need premium-branded disposables that cost three times as much for identical functionality.
Organisational Tools That Don't Touch the Client
Storage containers, lash tile organisers, trolleys, and similar background items don't need to be specialised lash brands. Functionality matters more than branding for these purchases. A clear storage container from a homewares store works identically to one marketed specifically for lash artists, but costs half as much.
Look for affordable alternatives in unexpected places. Office supply stores sell excellent organisers for tweezers and small tools. Kitchen storage solutions work perfectly for adhesive and product organisation. Repurposed makeup storage handles lash trays efficiently.
These items should still look professional in client-facing spaces. Mismatched, cluttered storage creates an unprofessional impression even when your actual work is excellent. But professional appearance doesn't require premium pricing. Clean, organised, and cohesive matters more than brand names.
The Replacement Timeline No One Tells You About

Initial kit cost is only part of your budget. Ongoing replacement is the hidden expense that catches new lash artists off guard. Tools degrade, products expire, and equipment needs maintenance. Knowing replacement schedules helps you budget accurately and maintain consistent quality.
Some tools degrade quickly with regular use. Others last years with proper care. Understanding which is which prevents both premature replacement and using degraded tools past their effective lifespan.
Tools That Degrade Faster Than You Think
Tweezers need replacement every 6-12 months with heavy use. The tips gradually misalign from repeated opening and closing, and sterilisation accelerates wear. Check alignment monthly by holding them up to light. If you see gaps when closed, they're affecting your isolation quality.
Adhesive performance drops noticeably once opened. Even with perfect storage, most adhesives lose effectiveness after 4-6 weeks. If you're experiencing inconsistent retention despite proper technique, check your adhesive date first. This is often the culprit.
Certain brushes shed fibres after repeated use and cleaning. Disposable options avoid this entirely, but if you're using reusable brushes, replace them when you notice shedding. Fibres in adhesive or on lashes create application problems that waste time and affect results.
Set aside 10-15% of your service income for tool replacement. This covers tweezers, adhesive, and other consumables without creating budget stress when something needs replacing. Check tweezers monthly, adhesive weekly, and brushes after each cleaning. Annual review of larger equipment catches degradation before it affects client experience.
What Actually Lasts Years With Proper Care
Quality lash beds and chairs are 5-10 year investments when maintained properly. Clean them after each client, check adjustment mechanisms quarterly, and address minor issues immediately. A $600 bed that lasts eight years costs $75 annually. A $300 bed that needs replacing after three years costs $100 annually. The math favours quality.
Good lighting lasts years with minimal maintenance. LED ring lights and magnifying lamps have lifespans measured in thousands of hours. Clean them weekly to prevent dust buildup, and they'll outlast most other equipment in your kit.
Proper care extends lifespan significantly. Clean tweezers after every use with alcohol or proper sterilisation solution. Store them in protective cases, not loose in drawers where tips can misalign. This simple routine adds months to their usable life.
Storage systems are decade-long investments. Quality shelving, trolleys, and organisational furniture don't degrade with normal use. These justify higher upfront costs when calculated over their lifespan. A $200 storage system that lasts ten years costs $20 annually, making it one of your most economical purchases.
Building Your Kit in Stages Without Compromising Safety

Not everyone can buy everything at once. That's fine with the right strategy. The key is prioritising client safety and application quality first, then adding organisational and aesthetic upgrades as your business grows.
Stage one covers safety and precision essentials: professional-grade tweezers, quality adhesive, hypoallergenic eye pads and tape, proper storage for adhesive, and disposable application tools. This is your foundation. Everything else can wait, but these items are non-negotiable from your first client.
Stage two happens around three months in, once you have consistent bookings. Add backup tweezers, upgrade your lighting if you started with basic options, invest in better organisational systems, and expand your adhesive options for different client needs. You're not fixing problems here, just improving efficiency and comfort.
Stage three comes around six months, when you're established and profitable. This is when you upgrade your bed or chair if you started with budget options, add premium organisational furniture, invest in advanced tools like heated lash curlers or specialised isolation tweezers, and create a more polished studio aesthetic.
Client safety items are never optional, regardless of budget. If you can't afford professional-grade tweezers, adhesive, and hypoallergenic pads, you're not ready to take clients yet. But aesthetic and organisational items can absolutely be phased in as revenue allows.
Investing in quality tools is investing in your business longevity and client trust. Poor tools create problems that damage your reputation and cost more to fix than they saved initially. Start with the essentials, add strategically, and build a kit that supports excellent work consistently. Your next step: audit your current kit against the non-negotiables list and identify any gaps that need addressing before your next client.

Leave a comment
This site is protected by hCaptcha and the hCaptcha Privacy Policy and Terms of Service apply.