
Beginner Lash Training Guide: Tips for Your First 100 Eyelash Extension Applications
Your First 100 Single-Lash Applications: A TAFE Guide
Your first 100 single-lash applications aren't about perfection. They're about building the muscle memory that makes everything else possible. This guide tracks your progress through five milestone ranges, each focusing on a specific subskill that compounds into competence. If your first ten attempts feel clumsy or your isolation technique looks nothing like your tutor's, that's not a sign you're not cut out for lash work. It's exactly where you should be.
Competence comes from deliberate practice with feedback, not just time spent holding tweezers. You'll move through lashes 1–20 (isolation and pickup), 21–50 (placement and bonding), 51–80 (direction and symmetry), 81–100 (troubleshooting under pressure), and beyond. Each range builds on the last. Skip the foundation work, and you'll spend months compensating for gaps that could have been closed in your first few sessions.
Why Your First 100 Lashes Are About Building Muscle Memory, Not Perfection
The 20-hour rule suggests reaching basic competence in a skill requires about 20 hours of deliberate practice. One hundred lashes, done with focus and feedback, puts you roughly at this threshold. That's foundational competence, not salon-ready expertise. You won't be taking on full client sets the day after lash 100, but you will have built the neural pathways that make the next 1,000 lashes progressively easier.
Muscle memory isn't just about hand coordination. It's your brain creating efficient pathways through repetition so movements become intuitive rather than conscious. Early failures aren't setbacks. They're data. Each wobbly placement or sticky you catch teaches your hands what not to do next time. Deliberate practice with feedback beats passive repetition every time. Spending three hours applying lashes without checking your work or adjusting technique is just rehearsing mistakes.
Don't expect to walk out of TAFE after 100 lashes and immediately handle a full client book. You're building the platform that makes speed, artistry, and client-specific customisation possible later. For more foundational guidance on lash application, explore our Articles section.
Lashes 1–20: Isolation and Pickup (The Foundation That Everything Else Depends On)

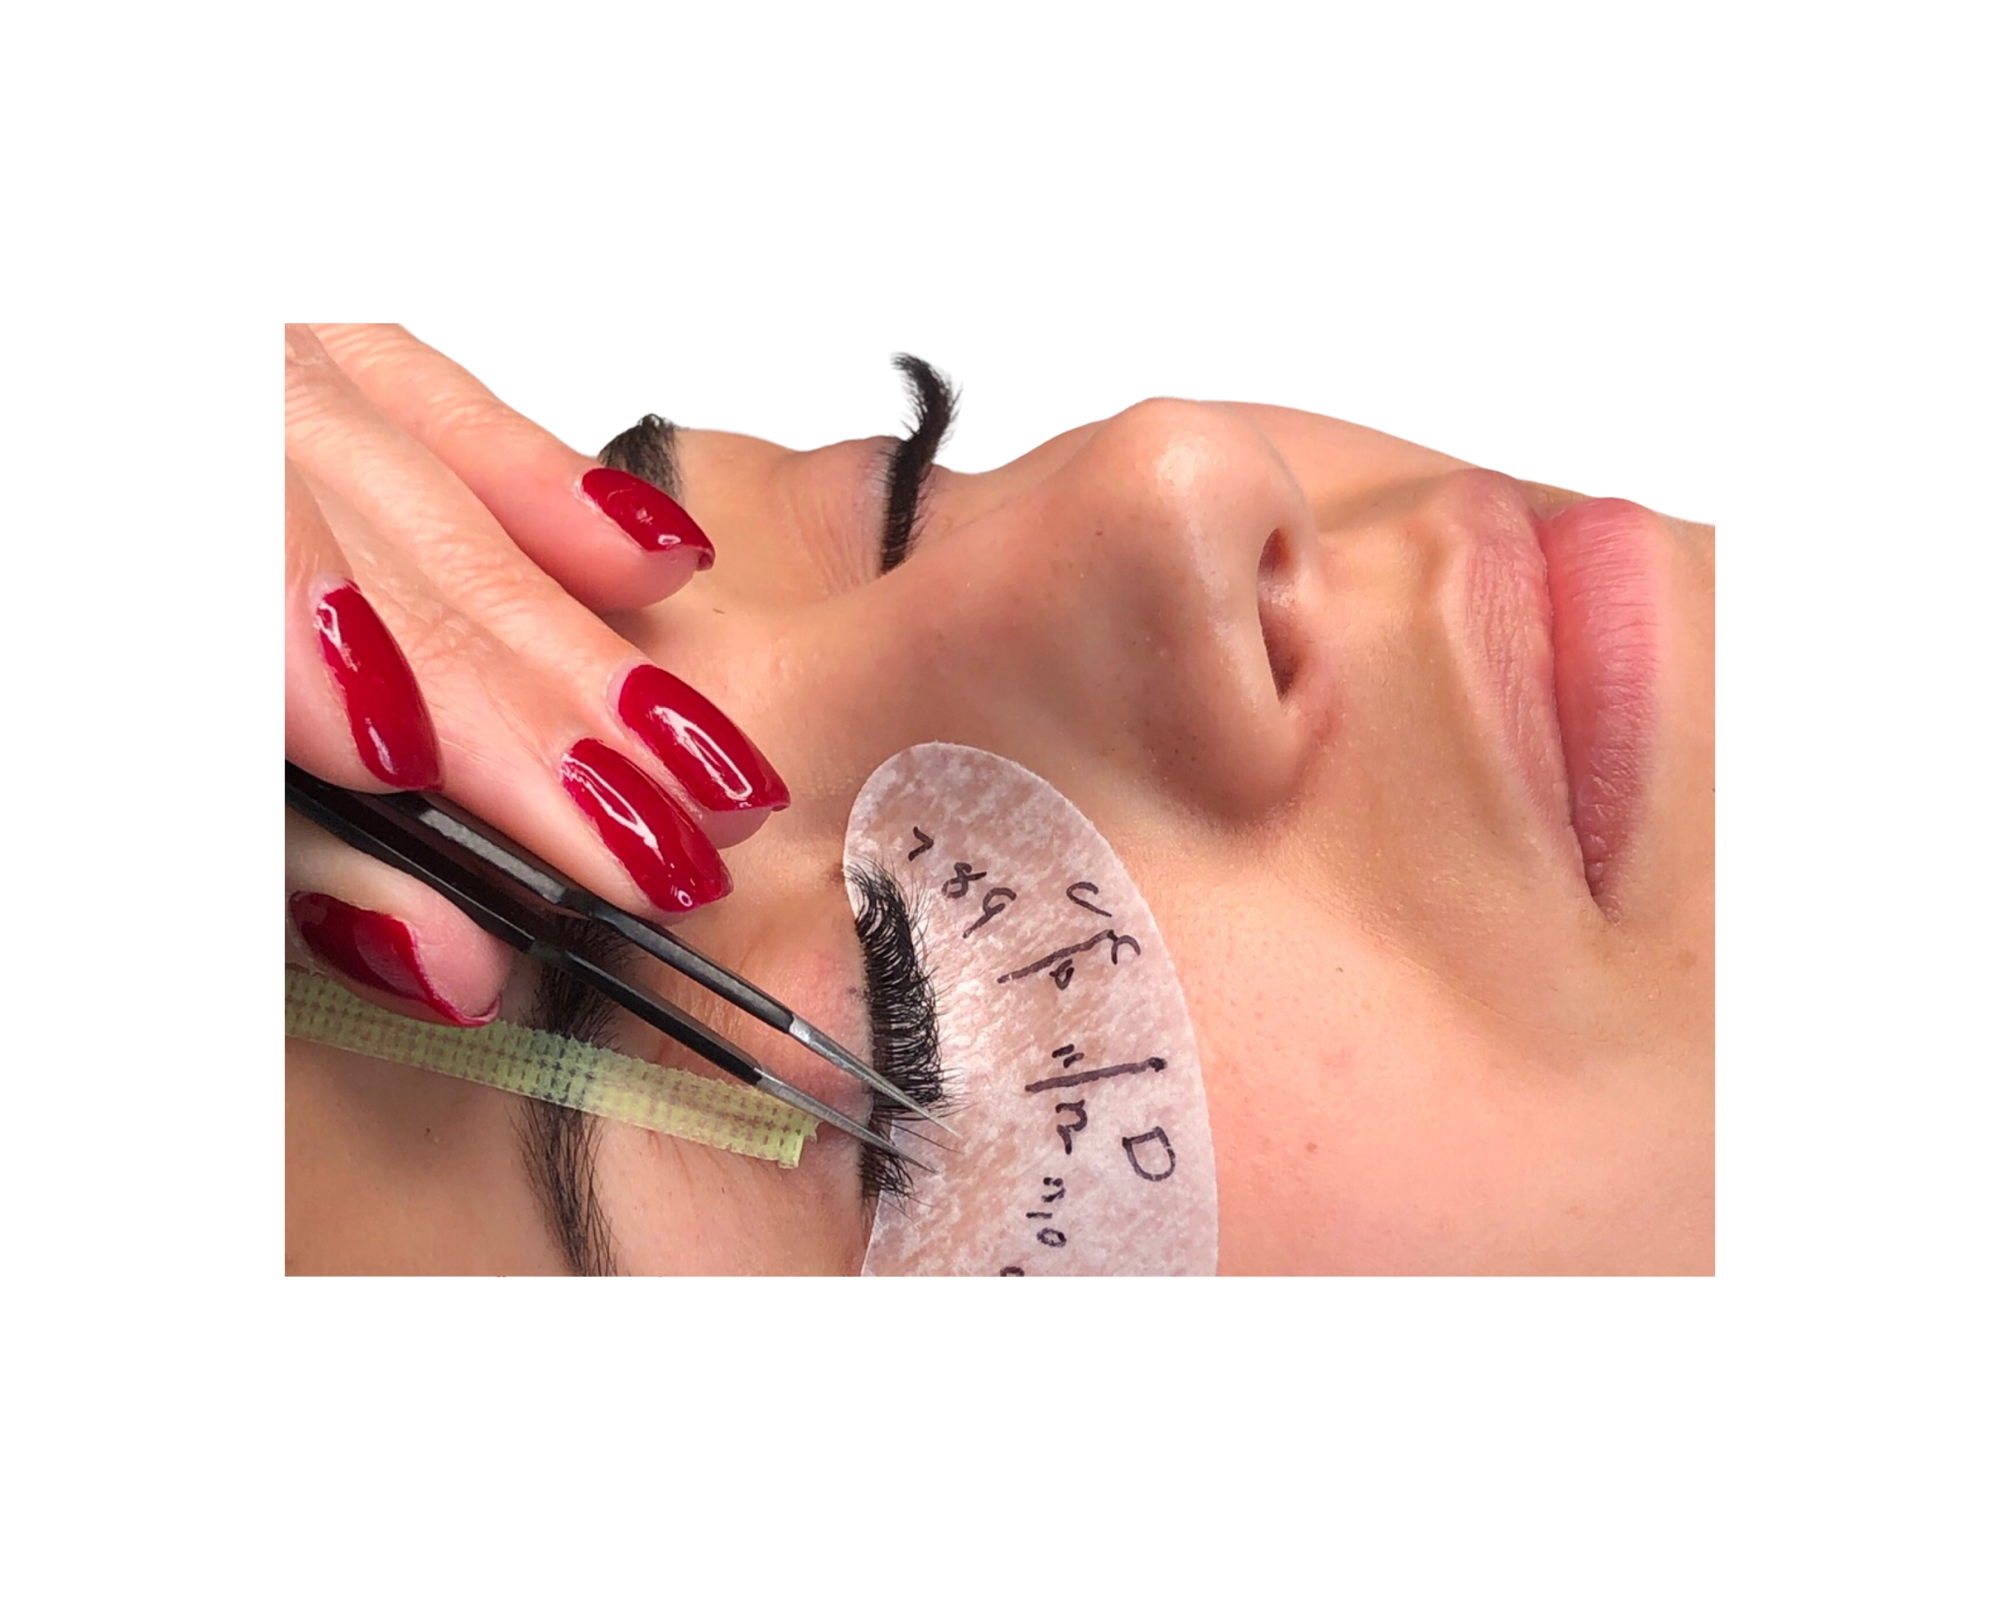
Isolation is the high-leverage subskill. If you can't cleanly separate one natural lash from its neighbours, everything that follows—placement, bonding, direction—becomes guesswork. Clean isolation means one natural lash separated with no neighbouring lashes touching within 2mm. That's the standard. Anything less creates stickies, uneven retention, and damage to natural lashes.
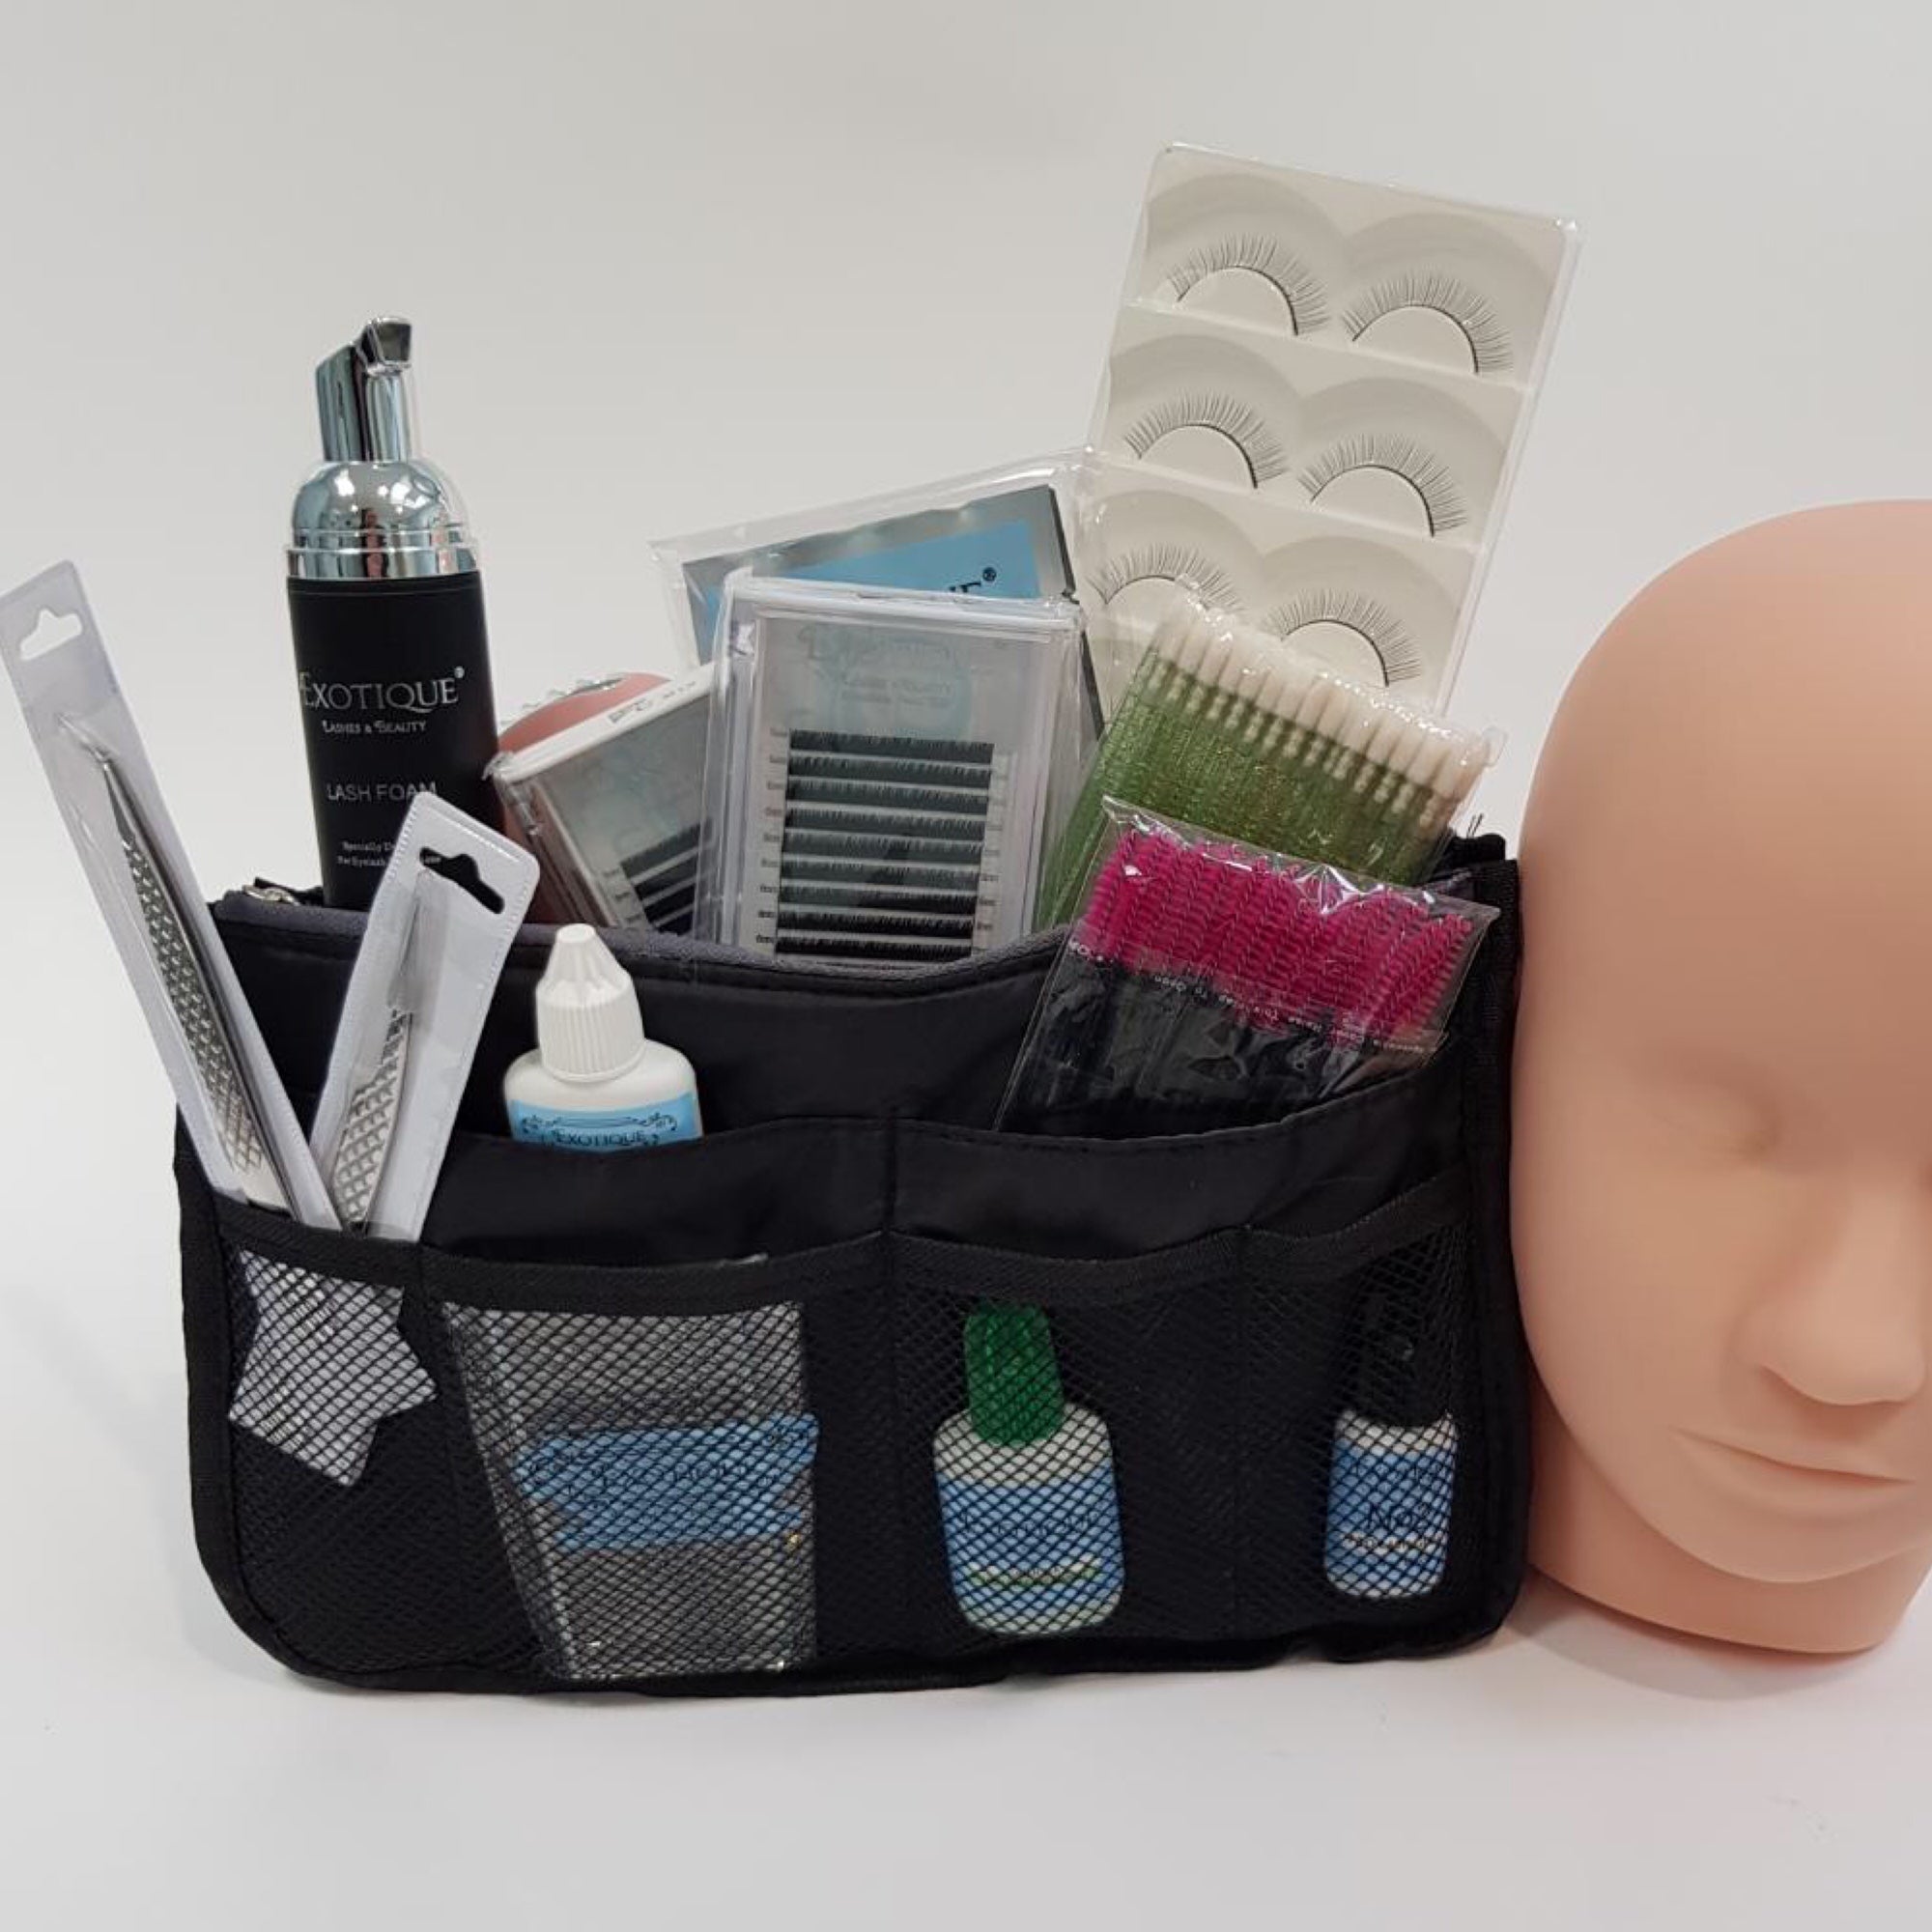
Lashes 1–20 will feel slow and awkward. This is normal. Your hands are learning a movement pattern they've never performed before. Practise on mannequin heads for 15–30 minute focused sessions rather than marathon practice. Fatigue kills precision, and you're training accuracy, not endurance.
Getting one natural lash cleanly separated without disturbing neighbours
Use the two-tweezer technique: your isolation tweezer holds neighbouring lashes back while your application tweezer works. The common mistake is gripping too close to the lash root, which pulls on the follicle and causes discomfort. Grip midway along the lash shaft instead.
Here's your checkpoint: can you hold isolation for 10 seconds without neighbouring lashes springing back into contact? If not, adjust your grip or reposition your isolation tweezer. When natural lashes are too close together, skip them. Move to better spacing. Forcing isolation on tightly packed lashes wastes time and increases the risk of stickies.
Picking up a single extension without adhesive contamination
Approach from the side at the lash base, not from above. Picking up from the middle or tip causes the extension to bend or twist during application. Your test: can you pick up and hold an extension for five seconds without it sliding in your tweezers?
Grip pressure matters. Too firm and you crimp the extension. Too light and it slips. Find the sweet spot where the extension stays secure but doesn't deform under pressure.
The 'sticky tape' mistake that wastes your first 10 attempts
Dipping the extension too deep into adhesive coats your tweezers, making the next pickup impossible. Proper adhesive pickup looks like this: only the base 1–2mm of the extension touches adhesive. If your tweezers get sticky, clean them immediately with lint-free wipes and primer before continuing. Pushing through with sticky tweezers compounds the problem and ruins multiple lashes in a row.
Lashes 21–50: Placement and Bonding (Where Speed Meets Accuracy)

This range is about applying isolated lashes correctly. You're building on the foundation from lashes 1–20. Working time is the 2–3 seconds between adhesive pickup and placement before it starts to cure. Placement will feel rushed at first. It becomes intuitive with repetition.
Poor bonding in this phase usually traces back to placement errors, not adhesive quality. If your bonds are failing, check your technique before blaming your supplies.
The 2mm rule and why your tutors are obsessed with it
The extension should bond 1–2mm from the eyelid. Never touching skin. Never sitting at the very tip of the natural lash. Placement too close causes irritation. Placement too far creates weak bonds that shed early.
Check from the side angle to verify the gap between extension base and eyelid. The common mistake is focusing only on the top-down view, which hides placement depth errors. Side angle reveals everything.
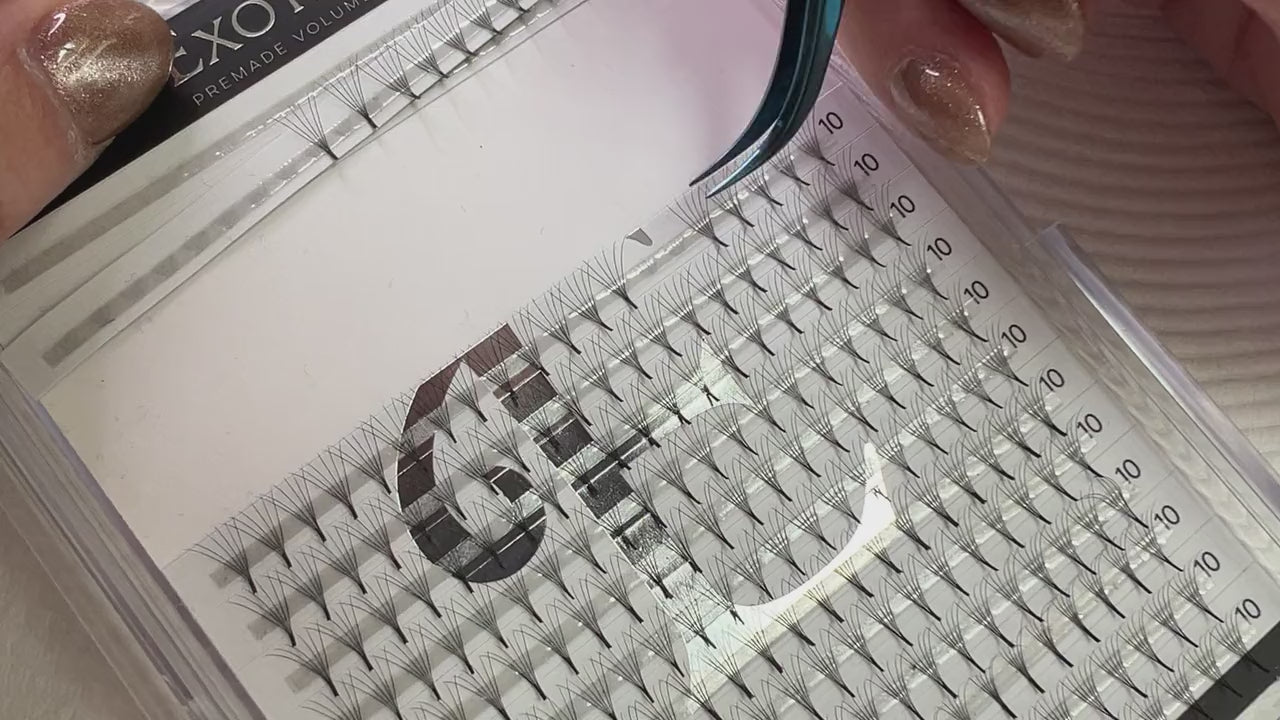
Dipping vs dabbing: how much adhesive actually transfers
Dipping submerges the extension base into adhesive. Dabbing touches it to a bead on the surface. Correct adhesive coverage is a thin, even coating on the base 1–2mm with no visible clumping. If you can see a blob of black adhesive on the extension before placement, you've used too much.
Excess adhesive causes fumes, poor retention, and stickies between lashes. Less is more. Always.
Why your bonds fail in the first 48 hours (and how to self-diagnose)
Three main causes: insufficient adhesive, placement too far from base, or not holding long enough for initial cure. Hold for five seconds after placement to allow adhesive to begin bonding before releasing. After two minutes, gently brush through. Extensions should not slide or rotate.
Don't blame adhesive quality when technique errors are usually the culprit. Check your placement depth, adhesive coverage, and hold time before switching products.
Lashes 51–80: Direction and Symmetry (Training Your Eye While Your Hands Catch Up)

This phase is about pattern recognition. You're seeing the full lash line as a cohesive design, not individual lashes. Natural lashes grow in different directions across the eye. Extensions must follow this pattern. Your eye will spot symmetry issues before your hands can consistently execute corrections. This is where deliberate practice with feedback becomes critical. You need external eyes to confirm what you're seeing.
Mapping natural lash direction before you touch adhesive
Brush through natural lashes and observe which direction each section naturally falls. The typical pattern: inner corner lashes angle toward the nose, centre lashes lift straight up, outer corner lashes sweep outward. Mentally divide the lash line into three sections and note the dominant direction in each before starting application.
Applying all extensions at the same angle creates an unnatural, uniform look. Follow the natural growth pattern instead.
The 'mirror check' habit that prevents wonky outer corners
After every 5–10 lashes, have your model open their eyes and look straight ahead while you check from the front. Both eyes should have matching curl direction and length distribution at the outer corners. Asymmetry is easiest to fix within the first 20 lashes of a full set. Much harder once you're 50+ lashes in.
Working too close without stepping back causes tunnel vision that misses obvious symmetry problems. Build the habit of checking from a distance early.
Lashes 81–100: Troubleshooting Under Pressure (What to Do When It's Going Wrong)
This phase simulates real client scenarios where you must problem-solve in real time, not start over. You're shifting from controlled practice to applied competence under time constraints. Mistakes will still happen, but recovery speed and decision-making improve dramatically. Knowing when to fix versus when to move on is a skill that only develops through experience in this range.
Stickies: catching them in the first 30 seconds vs trying to fix them later
A sticky is when adhesive bonds two or more natural lashes together, restricting growth and causing damage. If you catch it immediately, you can gently separate lashes with tweezers before adhesive fully cures. After placing each extension, use your isolation tweezer to gently test neighbouring lashes for movement.
Waiting until the end to check for stickies makes removal risky and can pull out natural lashes. Catch them early or risk real damage.
When to remove and redo (and when to leave it alone)
Remove if placement is on skin, if it's a sticky, or if direction is drastically wrong. Leave alone: slightly imperfect angle, marginally too much adhesive, or minor asymmetry that doesn't affect the overall look. Use remover gel on a micro swab, wait 30 seconds, then gently slide the extension off without pulling.
The perfectionism trap is real. Trying to fix every minor flaw wastes time and increases the risk of damaging natural lashes. Learn to distinguish between errors that matter and imperfections that don't.
After Lash 100: What Competence Actually Feels Like

Competence is the shift from conscious effort to intuitive movement. Your hands know what to do without constant mental instruction. You can reliably produce work that meets industry standards. Not perfect results. Consistent results.
One hundred lashes with feedback builds foundational muscle memory that makes the next 1,000 progressively easier. Competence is the platform for developing speed, artistry, and client-specific customisation. Salon work requires additional skills like client communication and time management. You're not fully ready yet, but you've built the foundation that makes everything else learnable.
For more insights on lash application techniques and common myths, check out Dont Get Them Wet The Trainer Said Fact Or Fiction and The Wet Look What Is It.
Leave a comment
This site is protected by hCaptcha and the hCaptcha Privacy Policy and Terms of Service apply.